🔥 How to Print DTF Transfers on Nylon: Tips for Smooth, Consistent Results
Lee Stuart
Nylon can be a pain. It’s slick, fine, and behaves nothing like cotton or polyester. But with the right technique, DTF transfers can stick clean and hold strong, even on tricky nylon jackets, bags, and performance wear.
At Rogue Transfers, we test our prints on all kinds of materials so you don’t have to. Here’s what we’ve learned about making DTF work on nylon.
Why Nylon’s Different
Nylon doesn’t give your adhesive much to grab onto. Unlike cotton or polyester, which have textured, absorbent fibres, nylon is smooth and tightly woven. That means if you press it the same way you’d press a t-shirt, you’re asking for frustration. Lifting edges, inconsistent adhesion, and ruined jobs.
So don’t press it like a t-shirt. Here’s how we dial it in.
The 4 Keys to DTF Success on Nylon
1. Warm Lower Platen = Game Changer
This applies to all DTF printing but it’s especially crucial on nylon. A cold lower platen is your worst enemy.
A warm lower platen ensures even heat throughout the entire garment, which keeps your adhesive activating consistently. Cold spots lead to poor bonding, wasted transfers and you probably throwing something across the room.
We keep our lower platen warmed before we start by running a few pre-press cycles. Don’t skip this step.
2. Pre-Press the Garment Smooth
Once your lower platen is warm, take a moment to pre-press the nylon itself.
Run the garment through a quick 5-second press with no transfer to flatten wrinkles and remove any surface moisture. Nylon often comes out of the box with folds or creases that can keep the transfer from laying flush and bonding properly.
A smooth, dry surface is a big part of getting consistent results.
3. Lower Heat, Longer Time
Nylon scorches easily. High heat and short time might work on cotton, but on nylon it’s a recipe for shiny marks or even melting.
For our transfers, we press at 280°F for 12 seconds. That lower temp gives the nylon surface a chance to bond without burning, while the slightly longer press time ensures the adhesive melts and flows into the weave. Remember that every press is a little bit different so you may need to experiment with temperature and time, but this should give you a solid starting point.
If your press can’t hold consistent temperature, fix that before you even try. Consistency is everything on nylon.
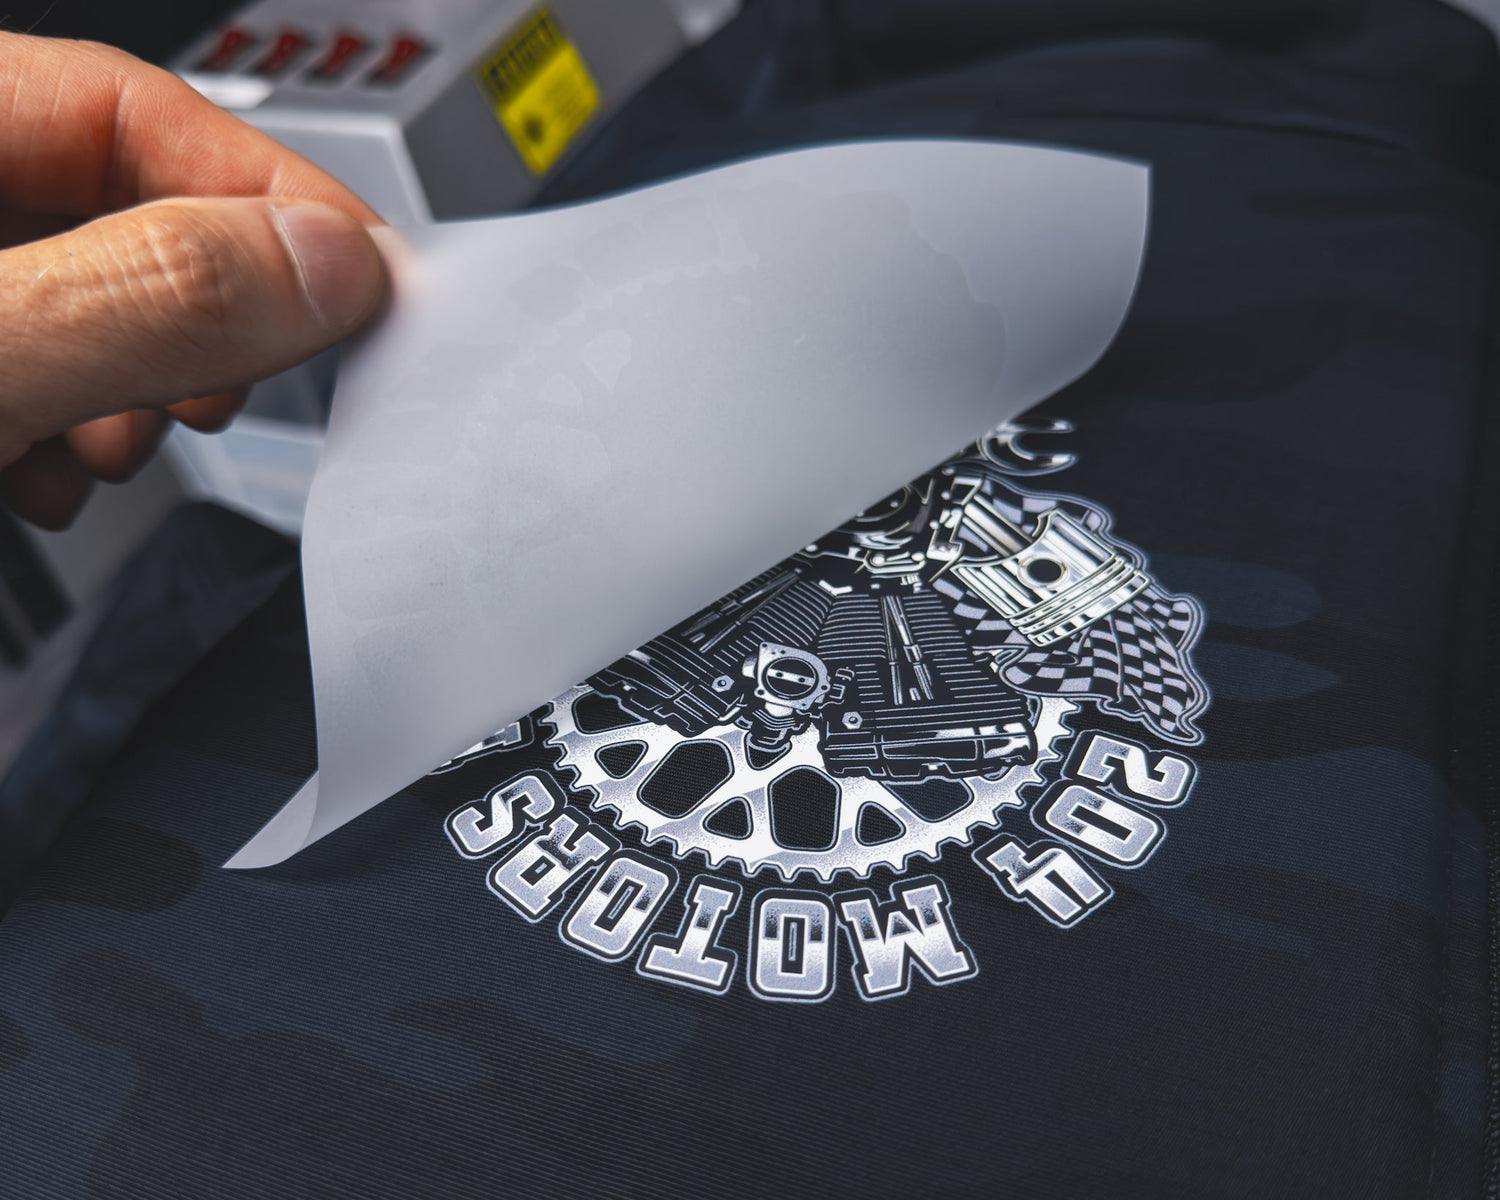
4. Patience on the Peel
This is the part most people rush, and it’s where they can screw it up.
Because nylon has such fine fibres, the adhesive doesn’t immediately lock in the way it does on a t-shirt. We’ve found that letting the pressed transfer sit for 5–10 seconds before peeling gives the adhesive time to set and grip.
If you peel too soon, you risk lifting edges or creating inconsistent texture. Wait. Then peel smoothly.
Our Tested Settings
Here’s the exact setup we use on nylon jobs in-house:
-
Warm lower platen before starting
-
Pre-press garment for 5 seconds to smooth and dry
-
Press at 280°F for 12 seconds, medium pressure
-
Let sit 5–10 seconds before peeling film
-
Post-press with kraft paper or teflon sheet for 5 seconds for extra durability
Final Word
Nylon isn’t forgiving, but that’s exactly why your customers come to you instead of the guy down the street. Mastering these details shows you know your craft and can deliver on tough jobs.
Keep your platen warm, smooth out your garment, lower your temp, extend your time, and don’t rush the peel. Do that, and you’ll start seeing smooth, consistent results on even the trickiest nylon surfaces.
Got a question about specialty materials? Shoot us a message — we’re happy to help!
